Create a Stripe restricted key
To connect your Stripe account to Selgeo you create a restricted API key in your Stripe Dashboard and paste it into Settings → Stripe in the Selgeo dashboard. Selgeo never sees your secret or publishable key — only this restricted key, scoped to the eight permissions below.
This page walks you through it step by step.
Prerequisites
- A Stripe account (test mode is fine for first connection).
- Access to the Stripe Dashboard.
- The Selgeo merchant dashboard open in another tab so you can paste the key when ready.
Required permissions (8)
Selgeo needs exactly these eight permissions on the restricted key. Anything beyond this is unused; anything missing causes Connect to fail.
Read (5):
- Checkout sessions — Read
- Charges — Read
- Balance transactions — Read
- Customers — Read
- Invoices — Read
Write (3):
- Promotion codes — Write
- Coupons — Write
- Webhook endpoints — Write
Step by step
-
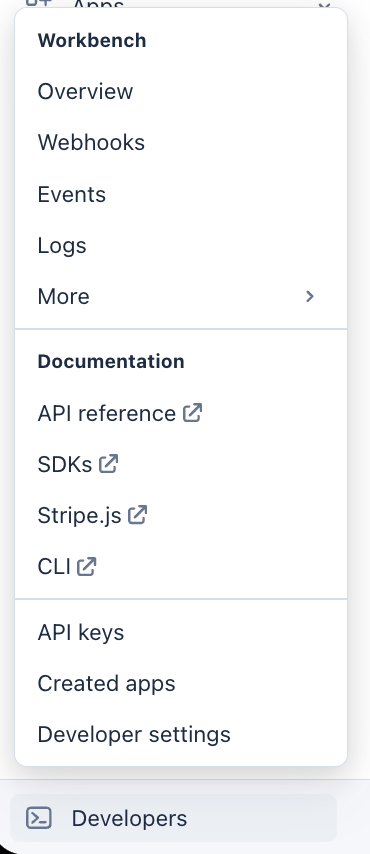
Sign in to the Stripe Dashboard. Use the Test / Live toggle in the top-right corner to choose the mode you want to connect first. Both modes are connected the same way; live mode requires its own restricted key. Open the Developers menu in the sidebar.
-
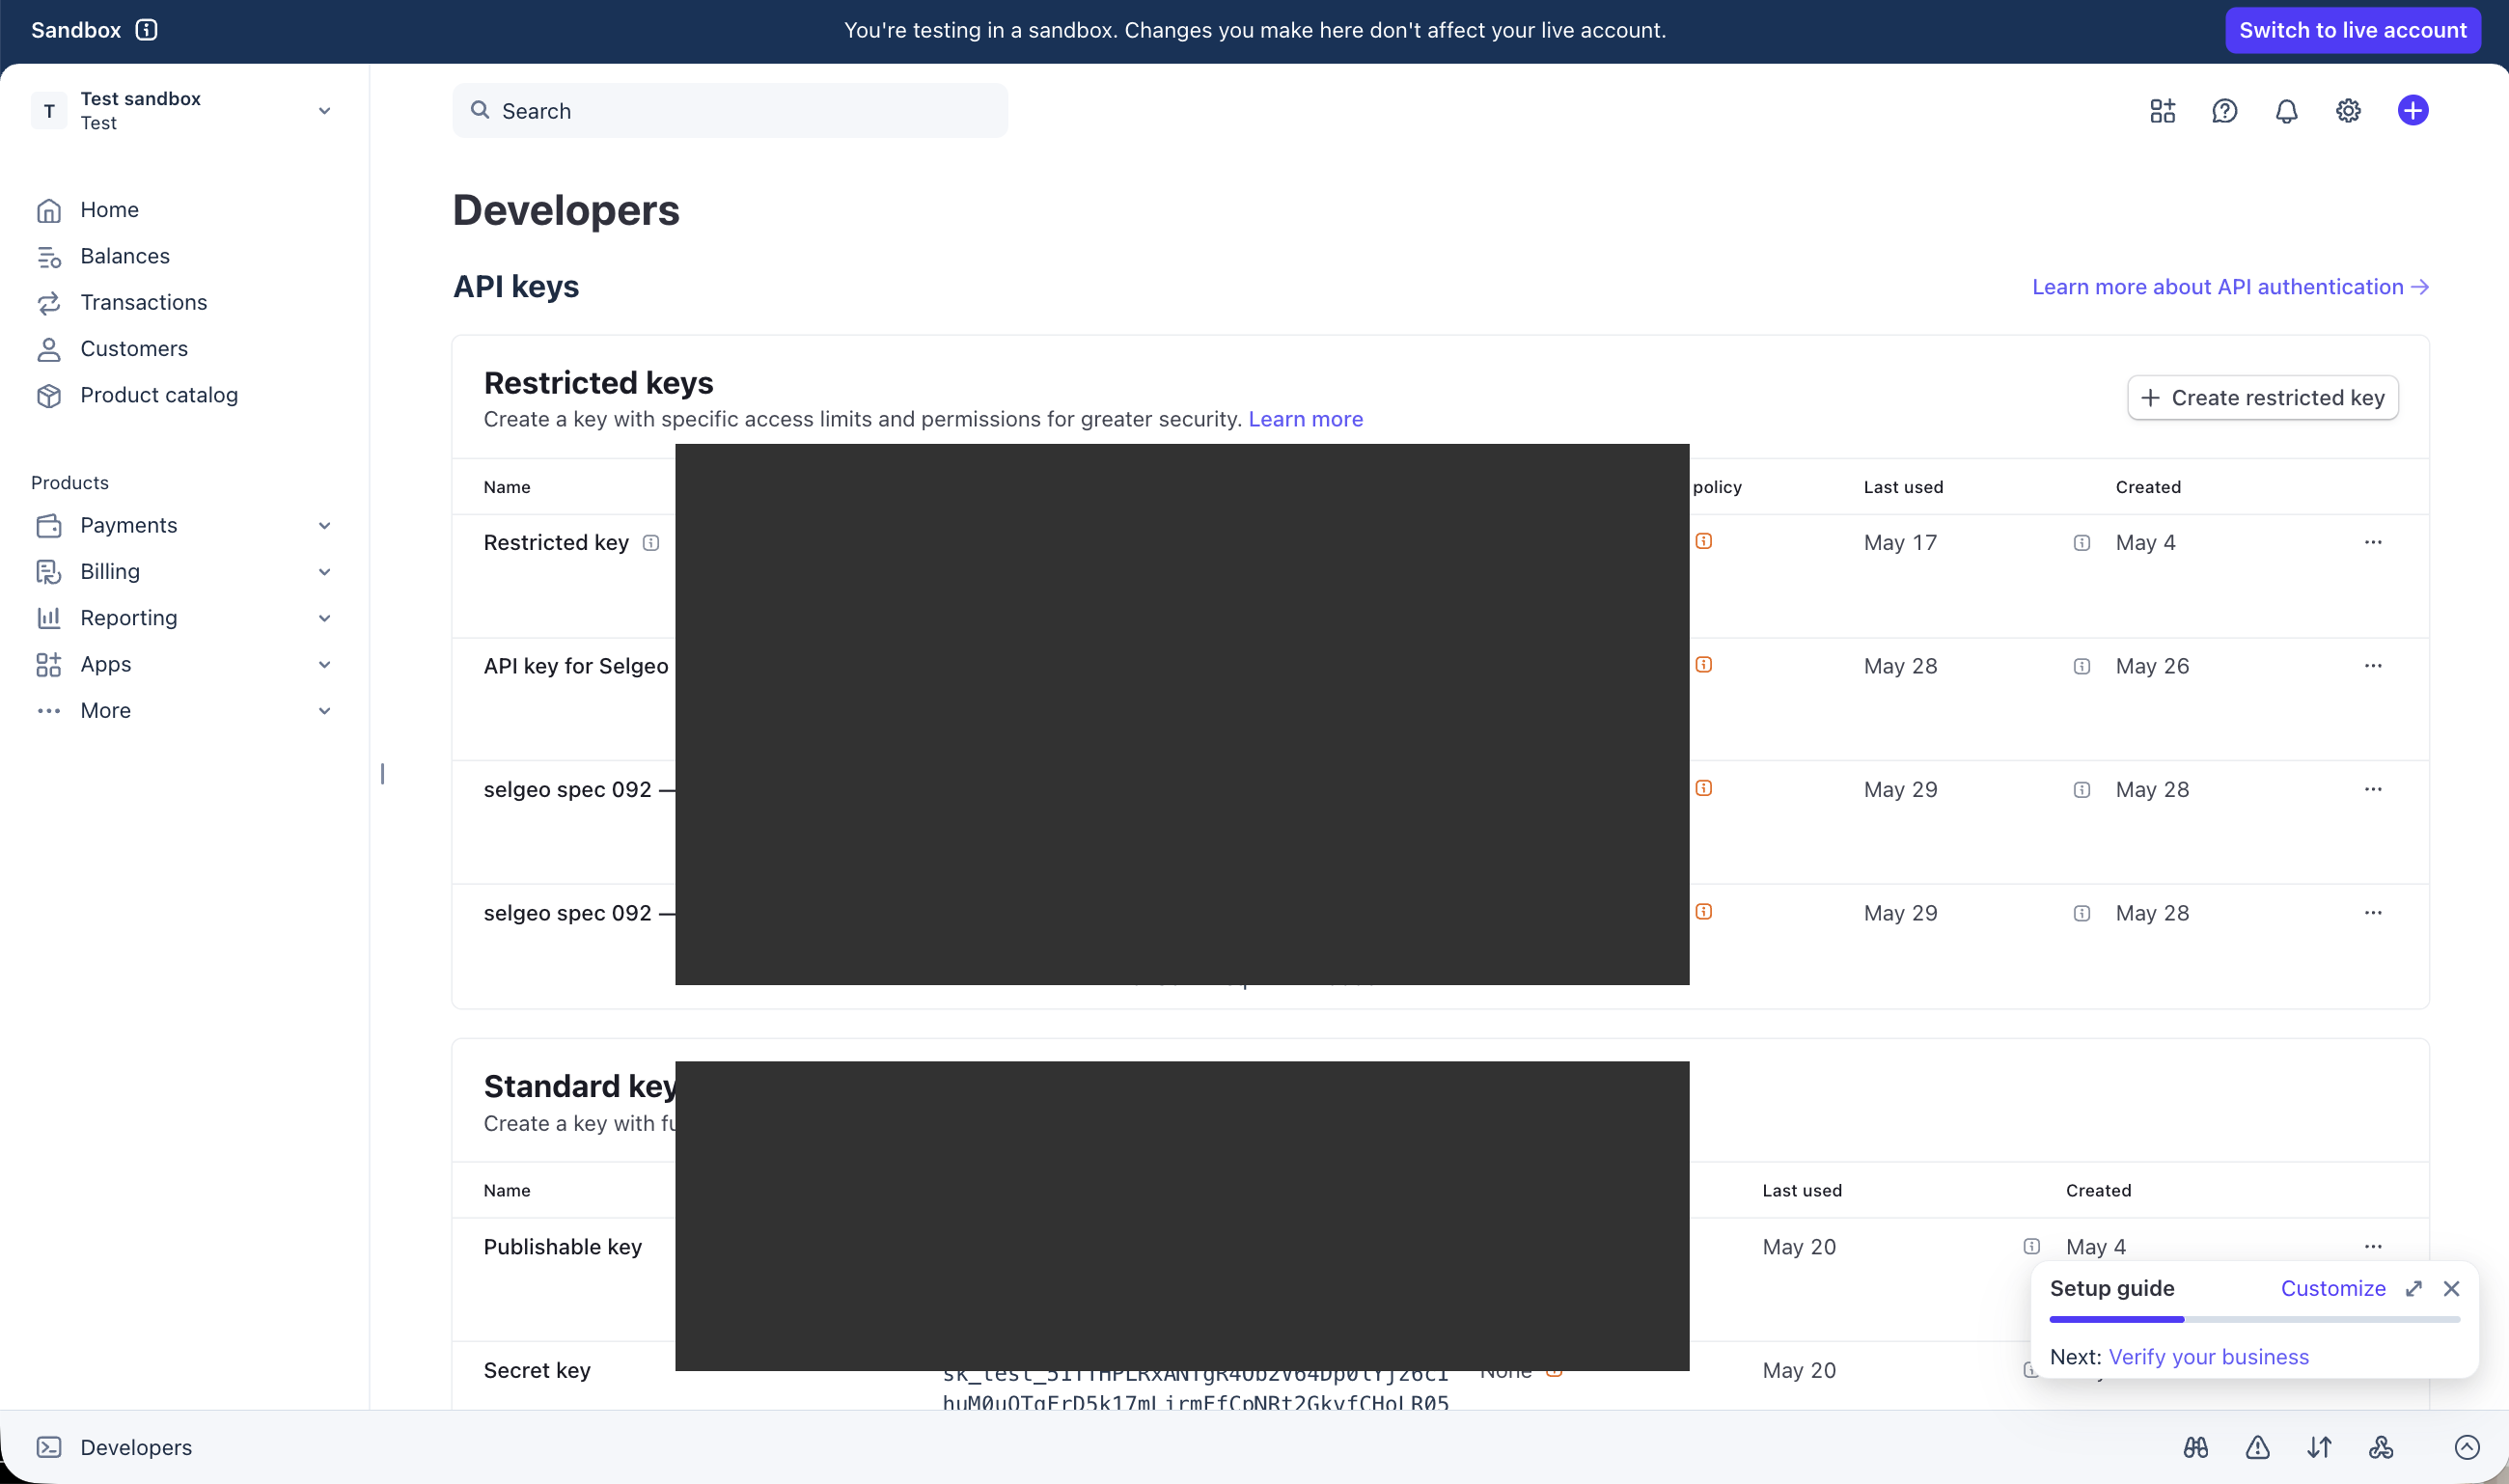
Open Developers → API keys and click + Create restricted key.
-
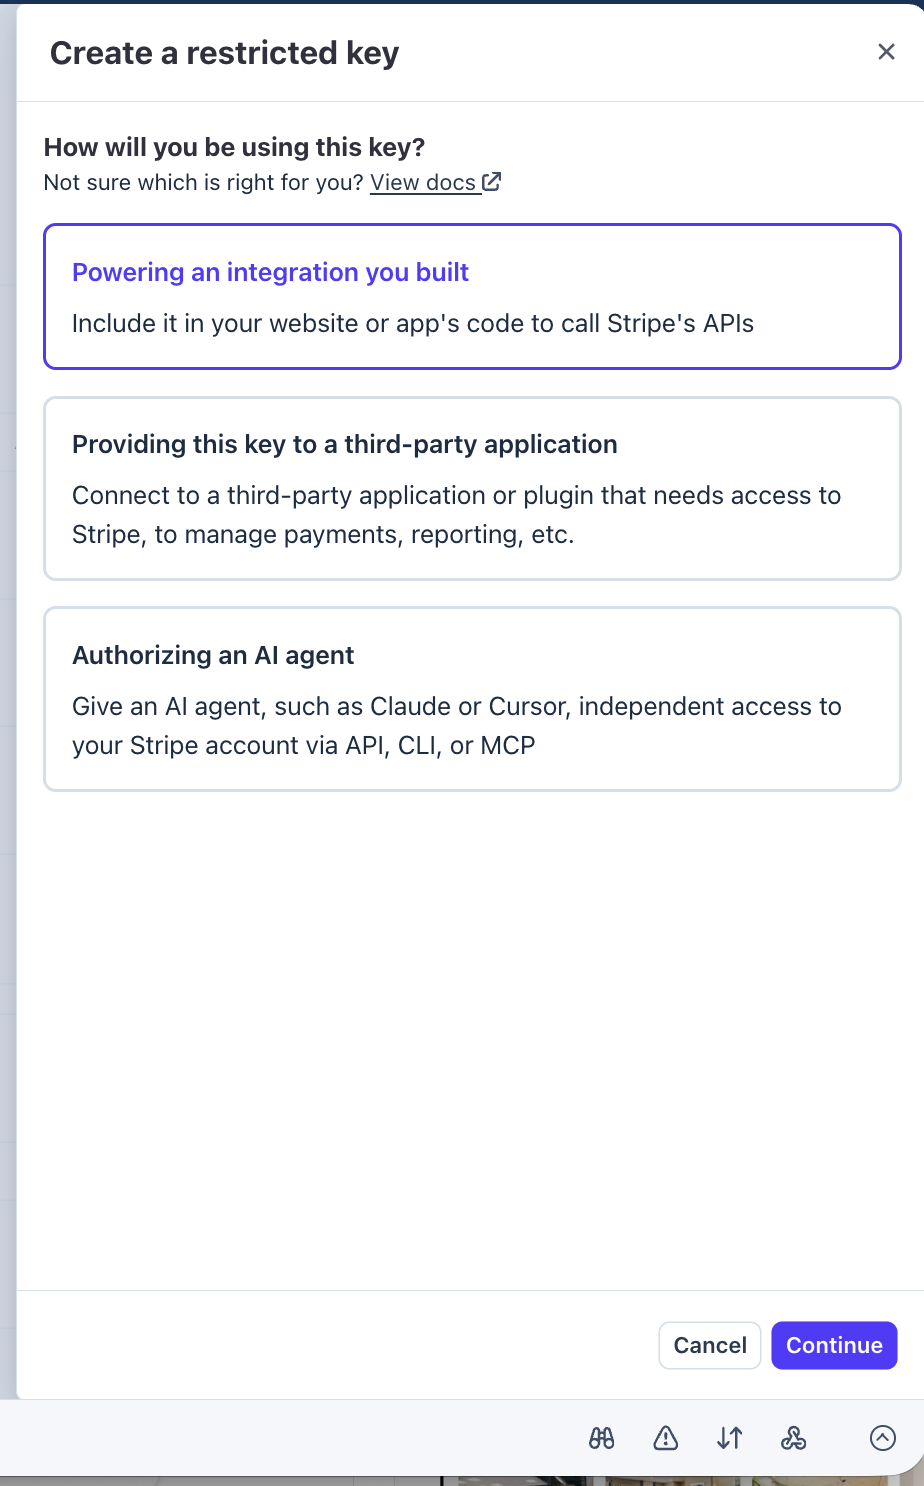
On the How will you be using this key? screen, choose Powering an integration you built. Selgeo is your own integration of Stripe — it is neither a third-party plugin nor an AI agent. Click Continue.
-
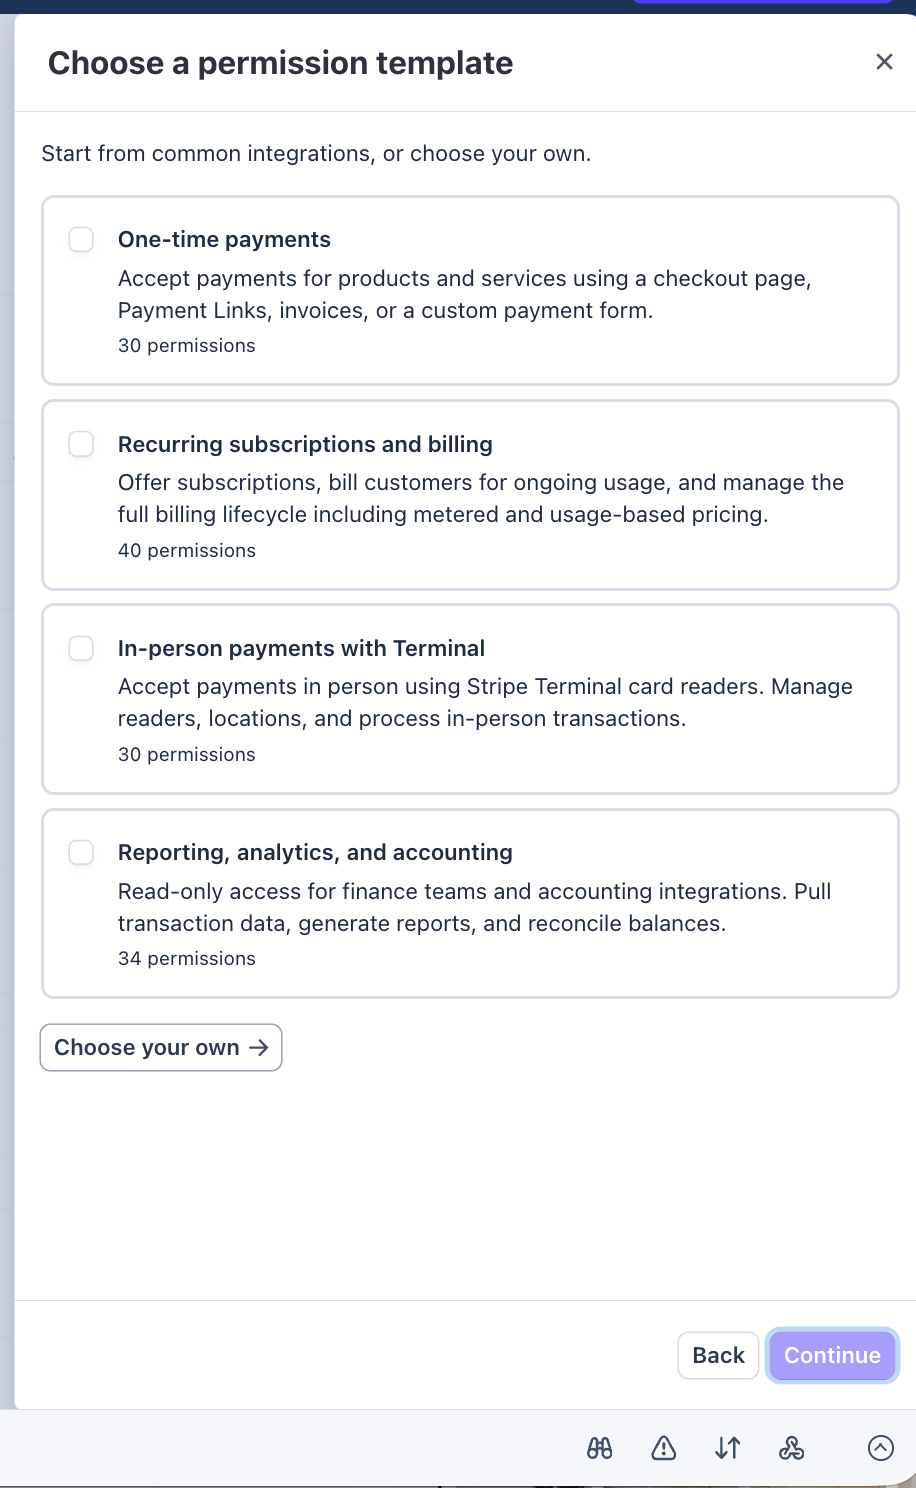
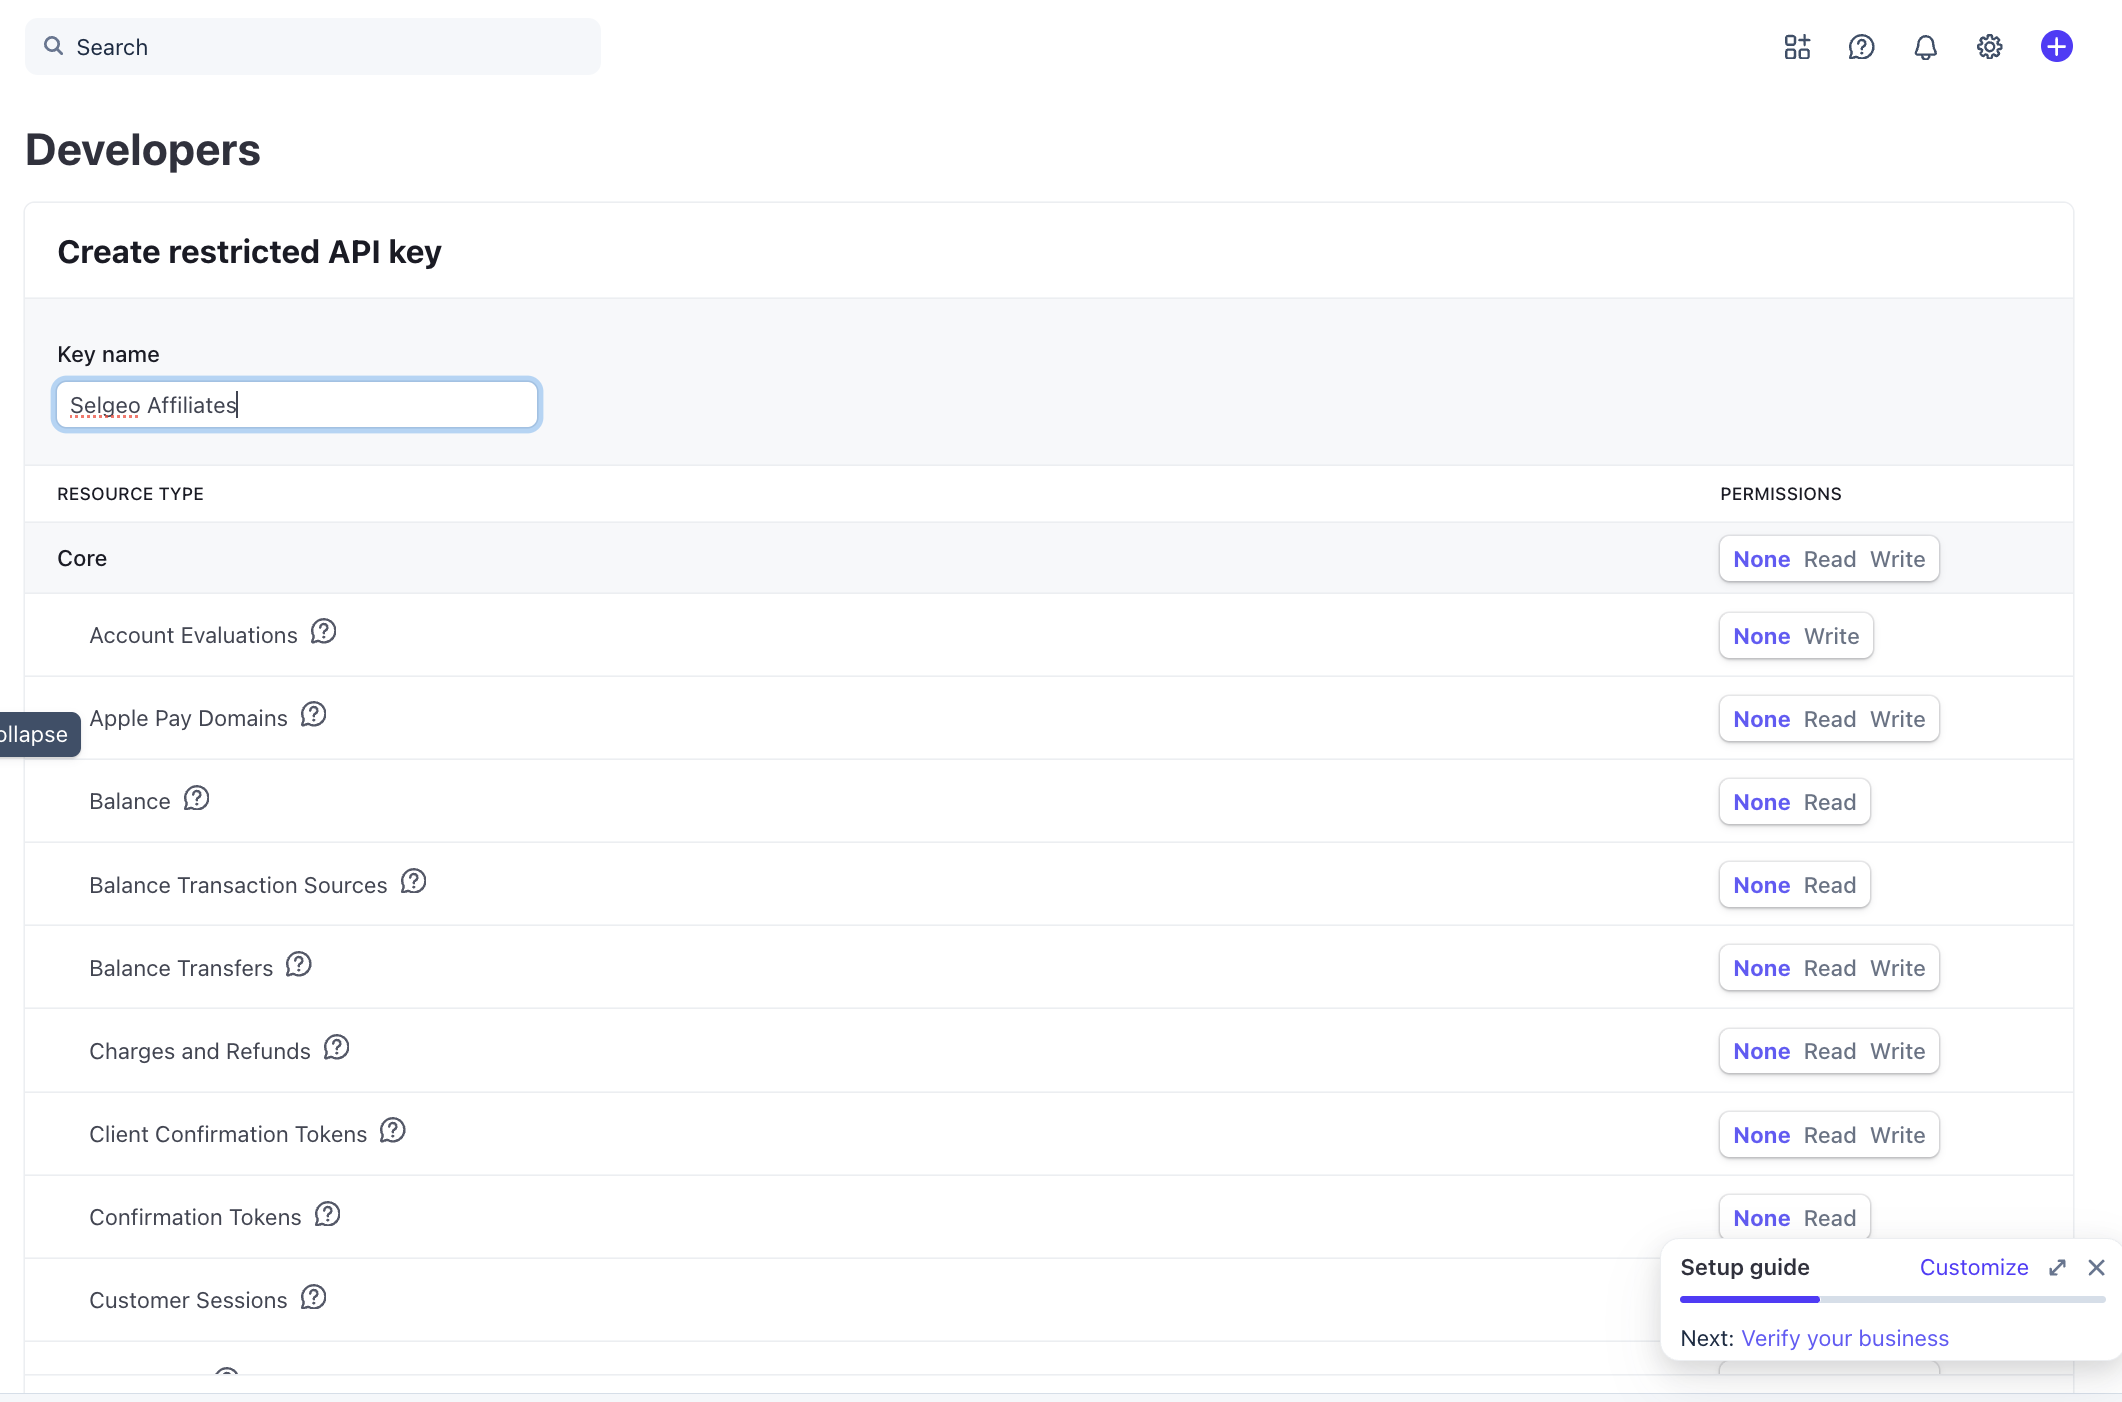
When the permission template dialog opens, scroll to the bottom and click Choose your own →. You will tick exactly the eight permissions above and leave everything else at None.
-
Give the key a recognisable name (for example, Selgeo Affiliates) so you can find it later in the API keys list.
-
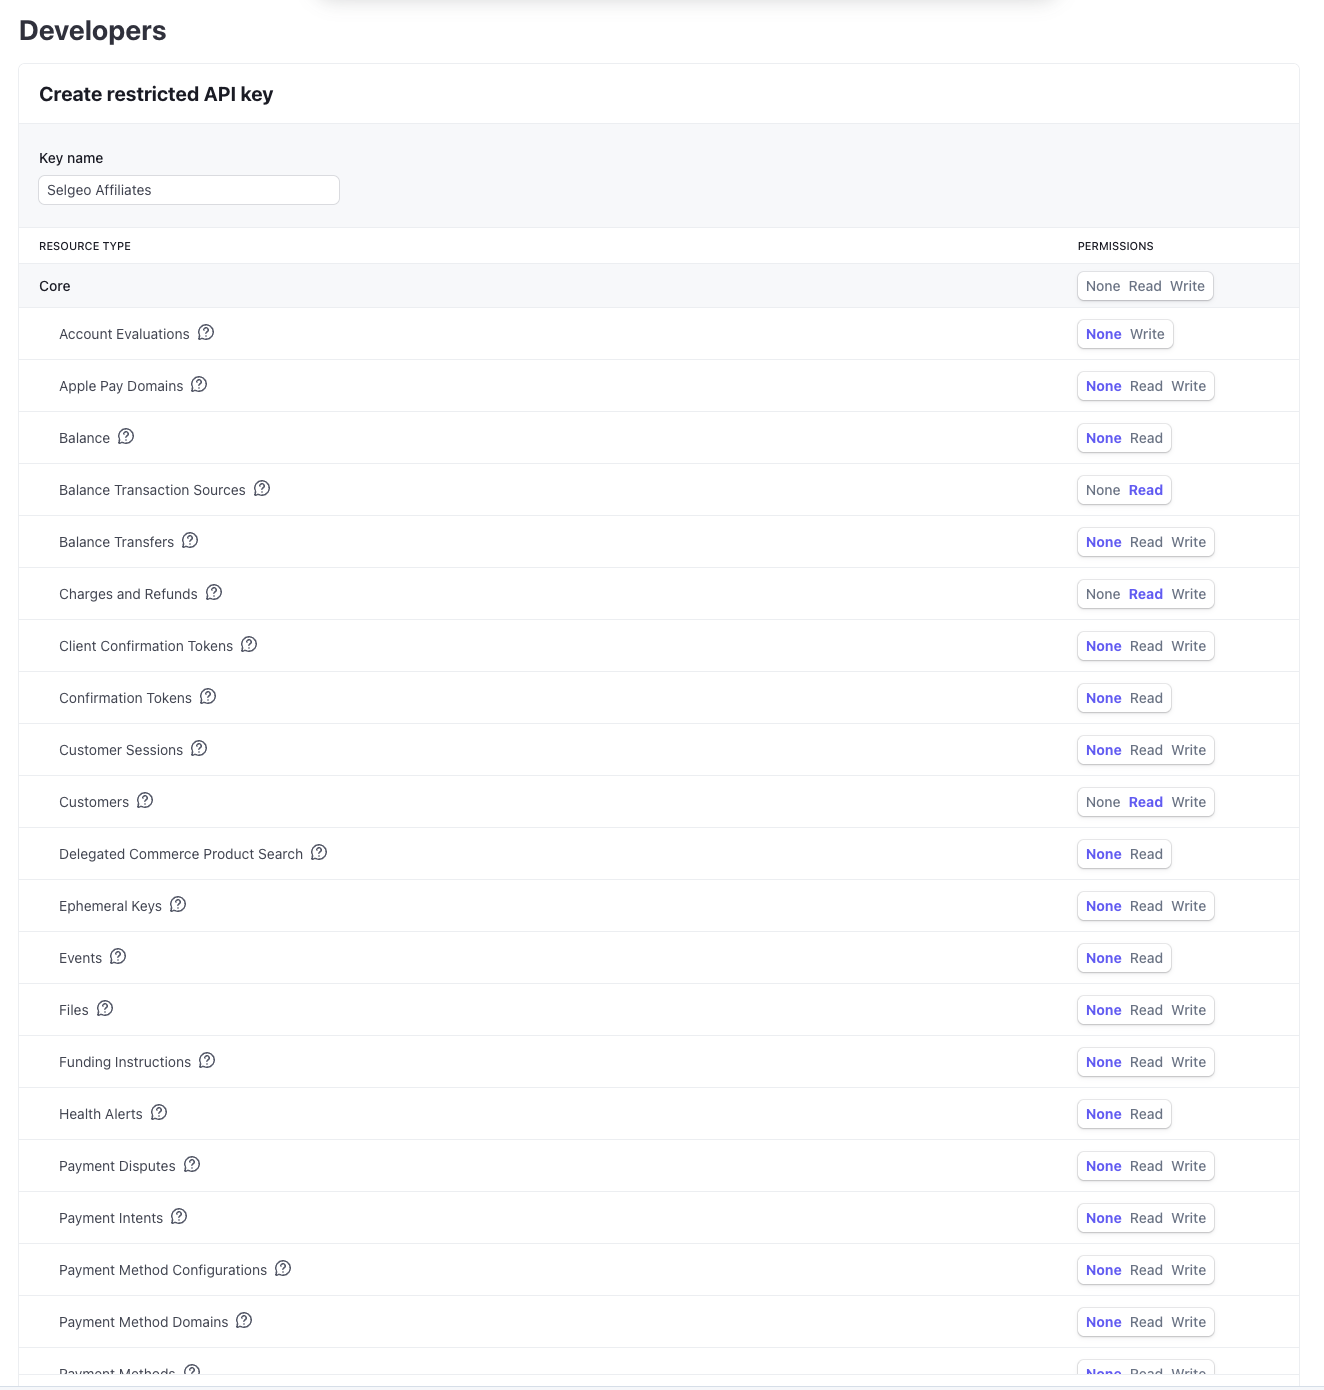
On the permissions matrix, set the five Read rows: Checkout sessions, Charges, Balance transactions, Customers, Invoices. Leave every other row at None.
-
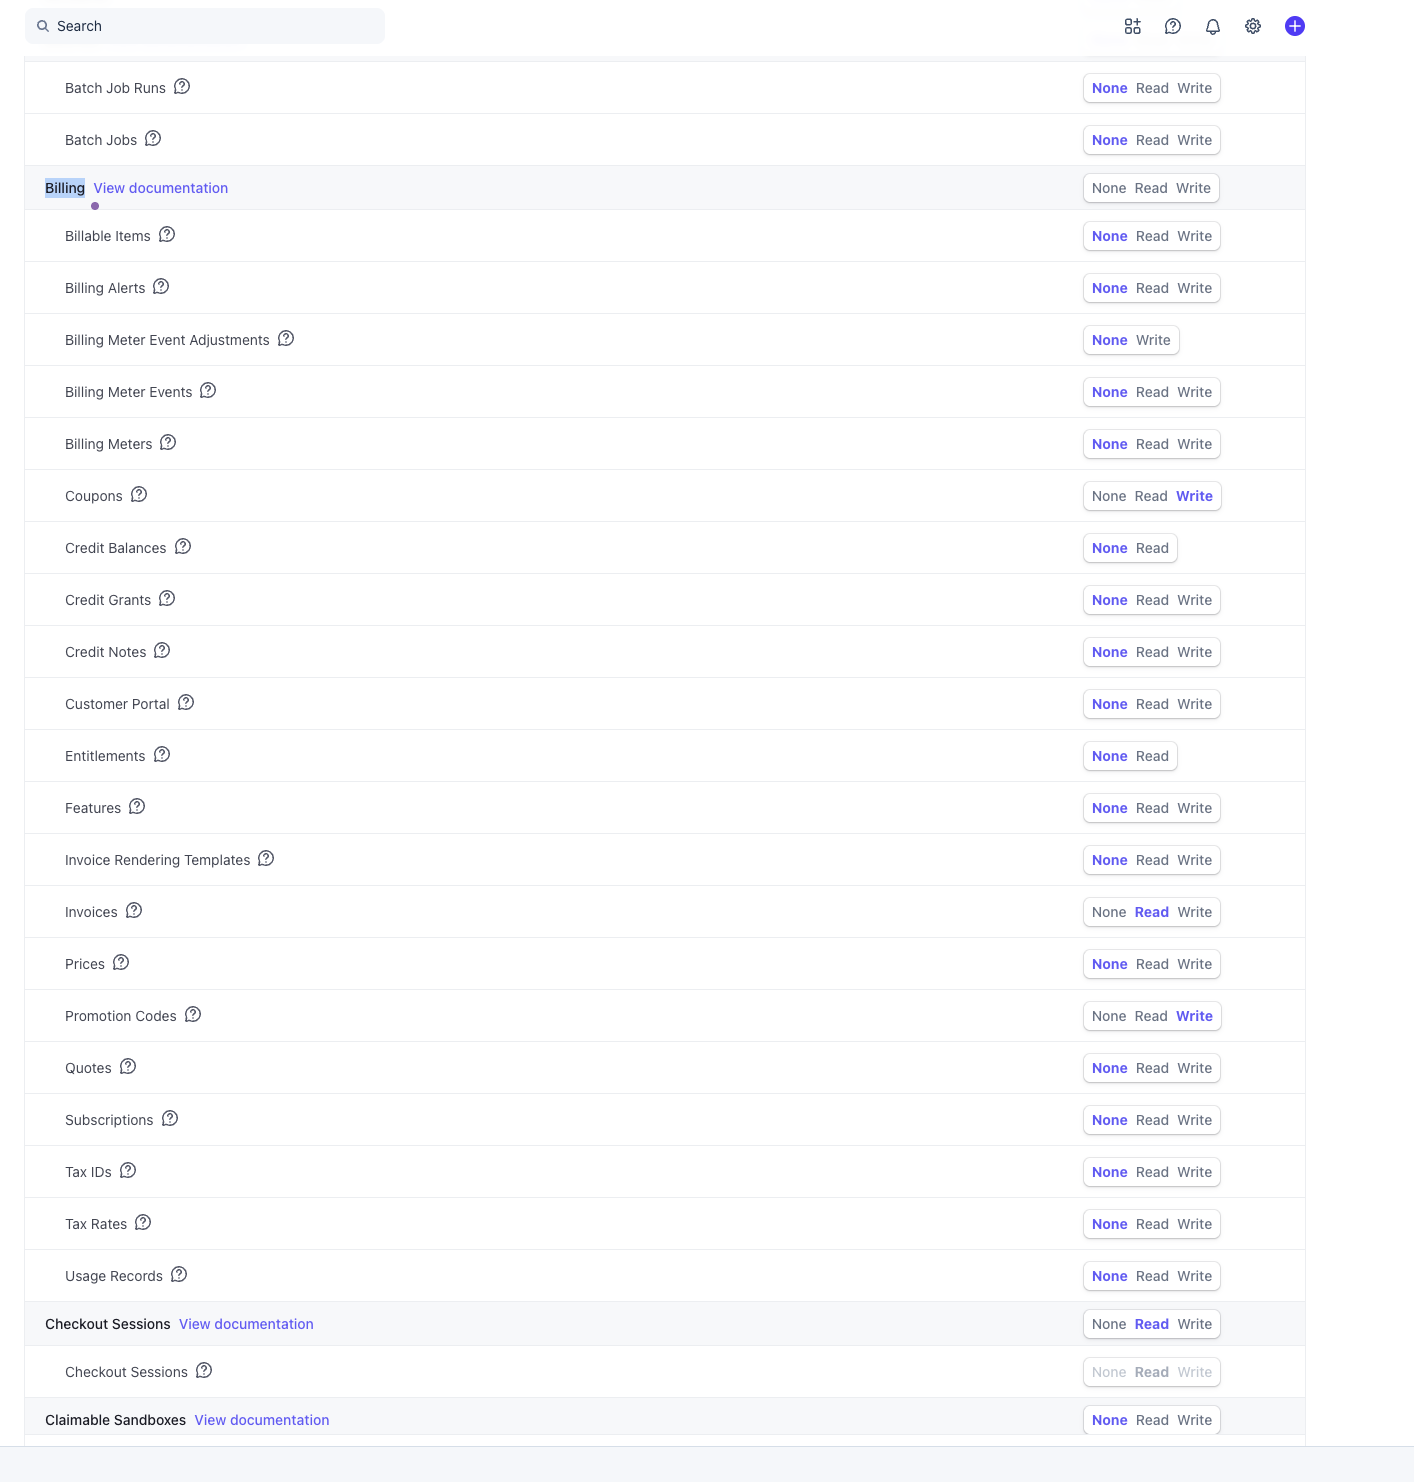
Set the Coupons and Promotion codes rows to Write in the Billing section. (Stripe's Write permission implies Read — you do not need to tick Read separately.)
-
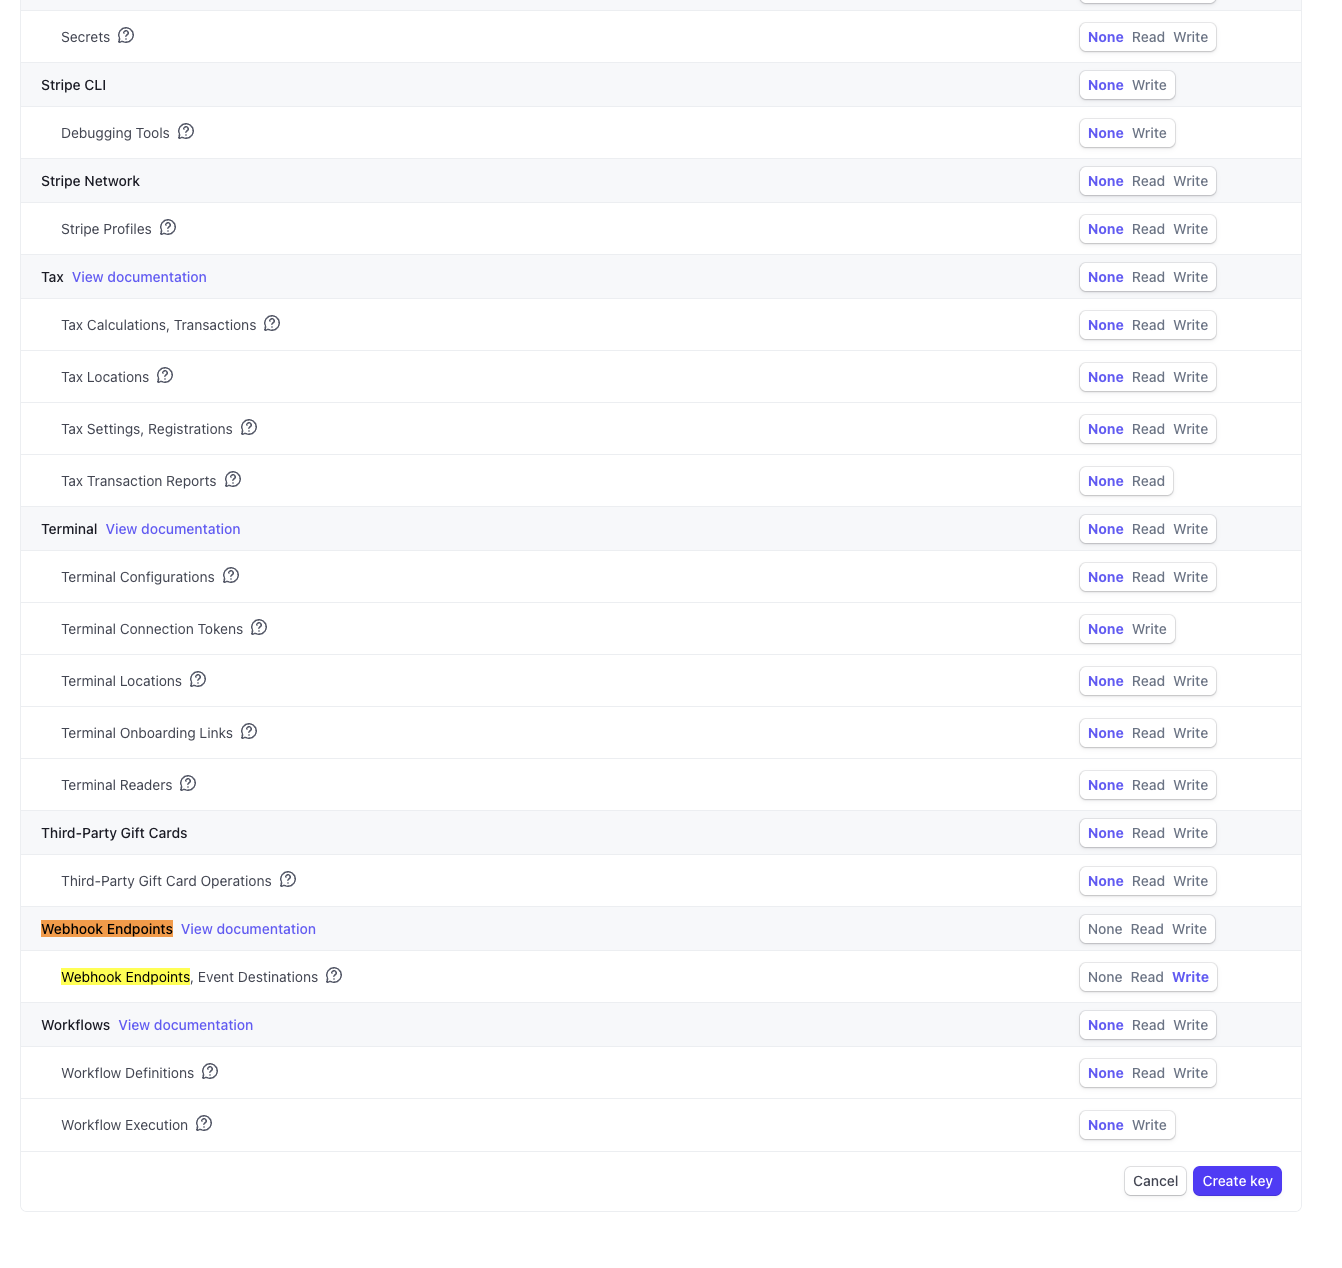
Scroll to the bottom and set Webhook endpoints to Write. Then click Create key.
-
Stripe shows the value once in the API keys list — copy it now (it starts with
rk_test_…in Test mode orrk_live_…in Live mode). If you navigate away, you cannot retrieve it again; you have to create a new key.
-
In the Selgeo dashboard, go to Settings → Stripe, paste the key into the corresponding Test connection or Live connection field, and click Connect.
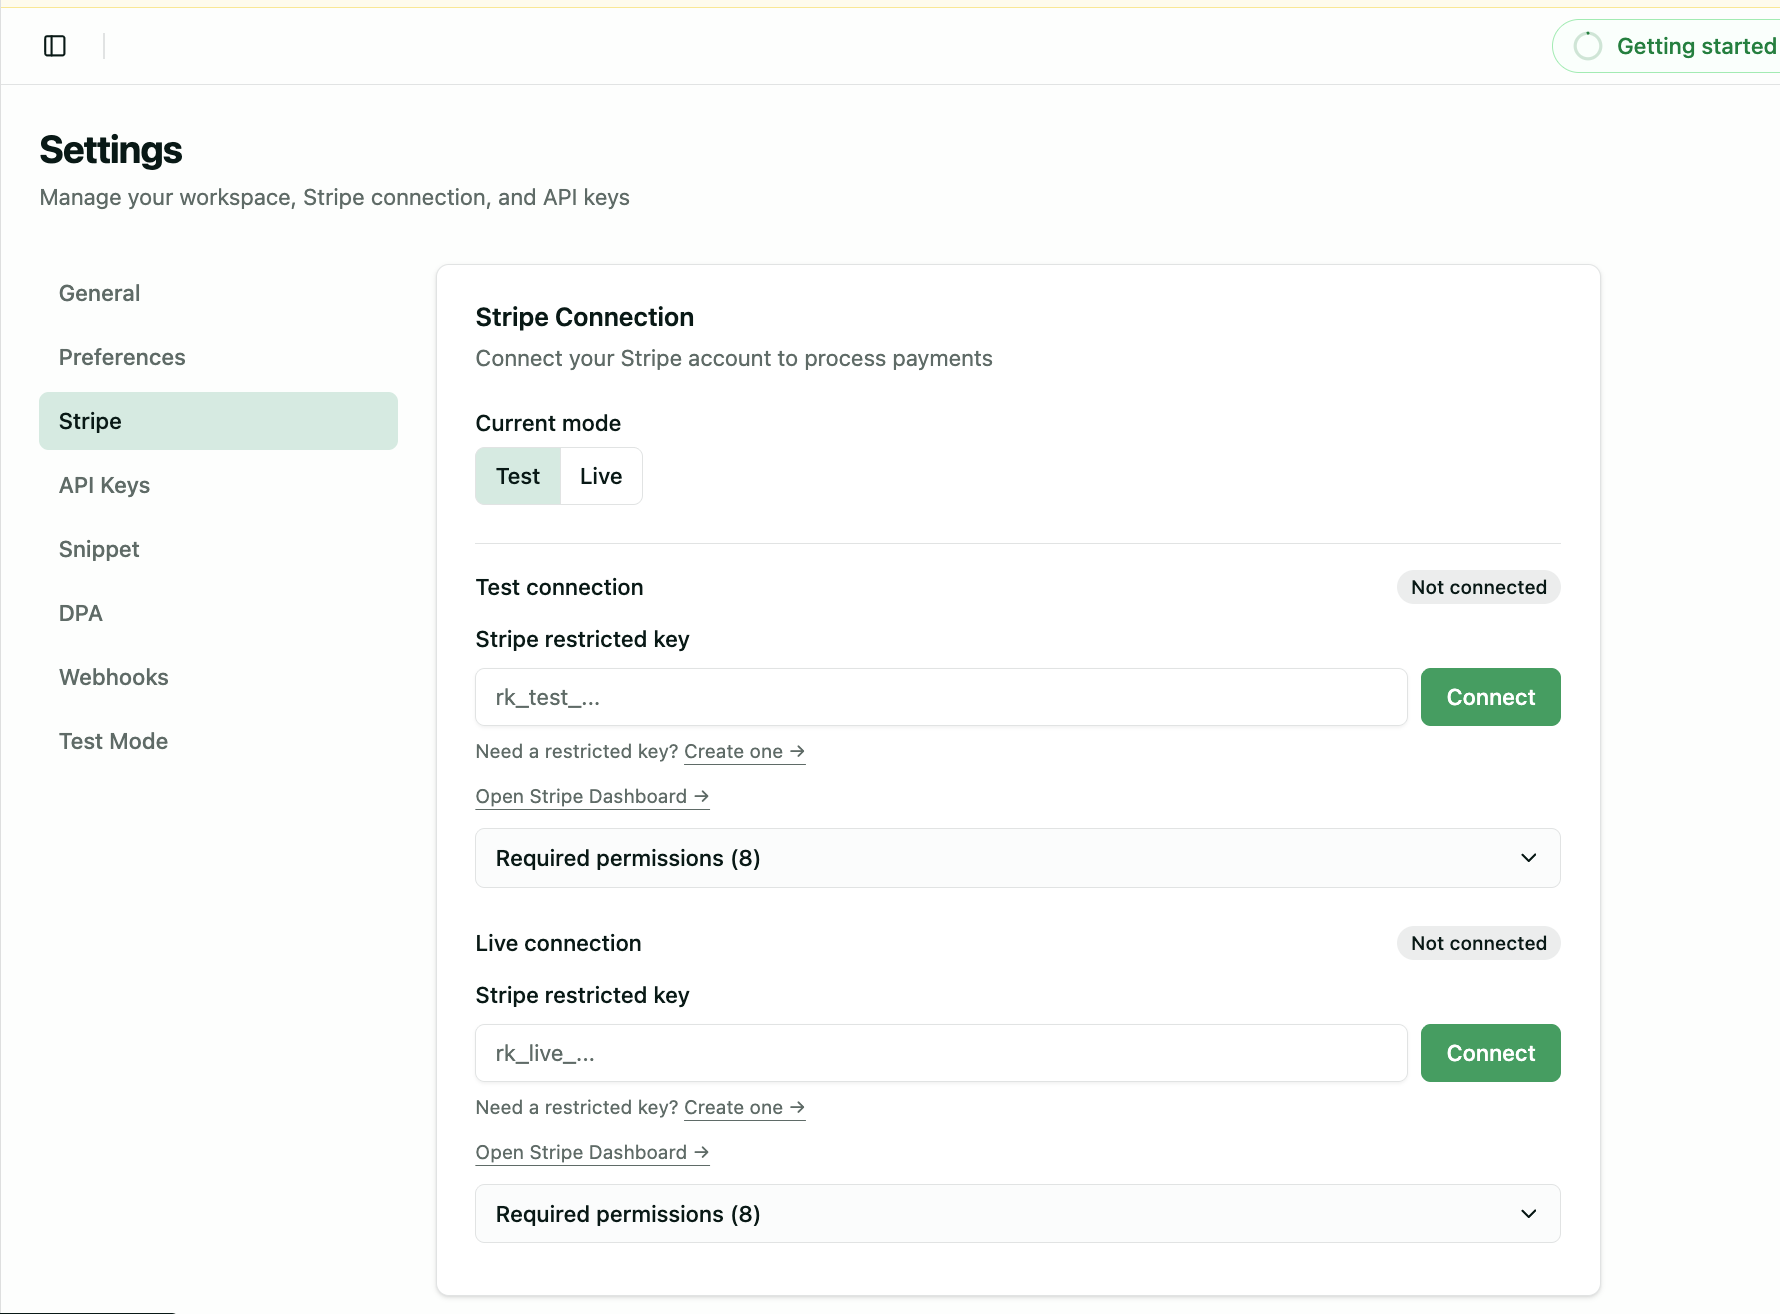
Selgeo verifies all eight permissions during the Connect call. The form turns into the connected state once verification succeeds.
Troubleshooting
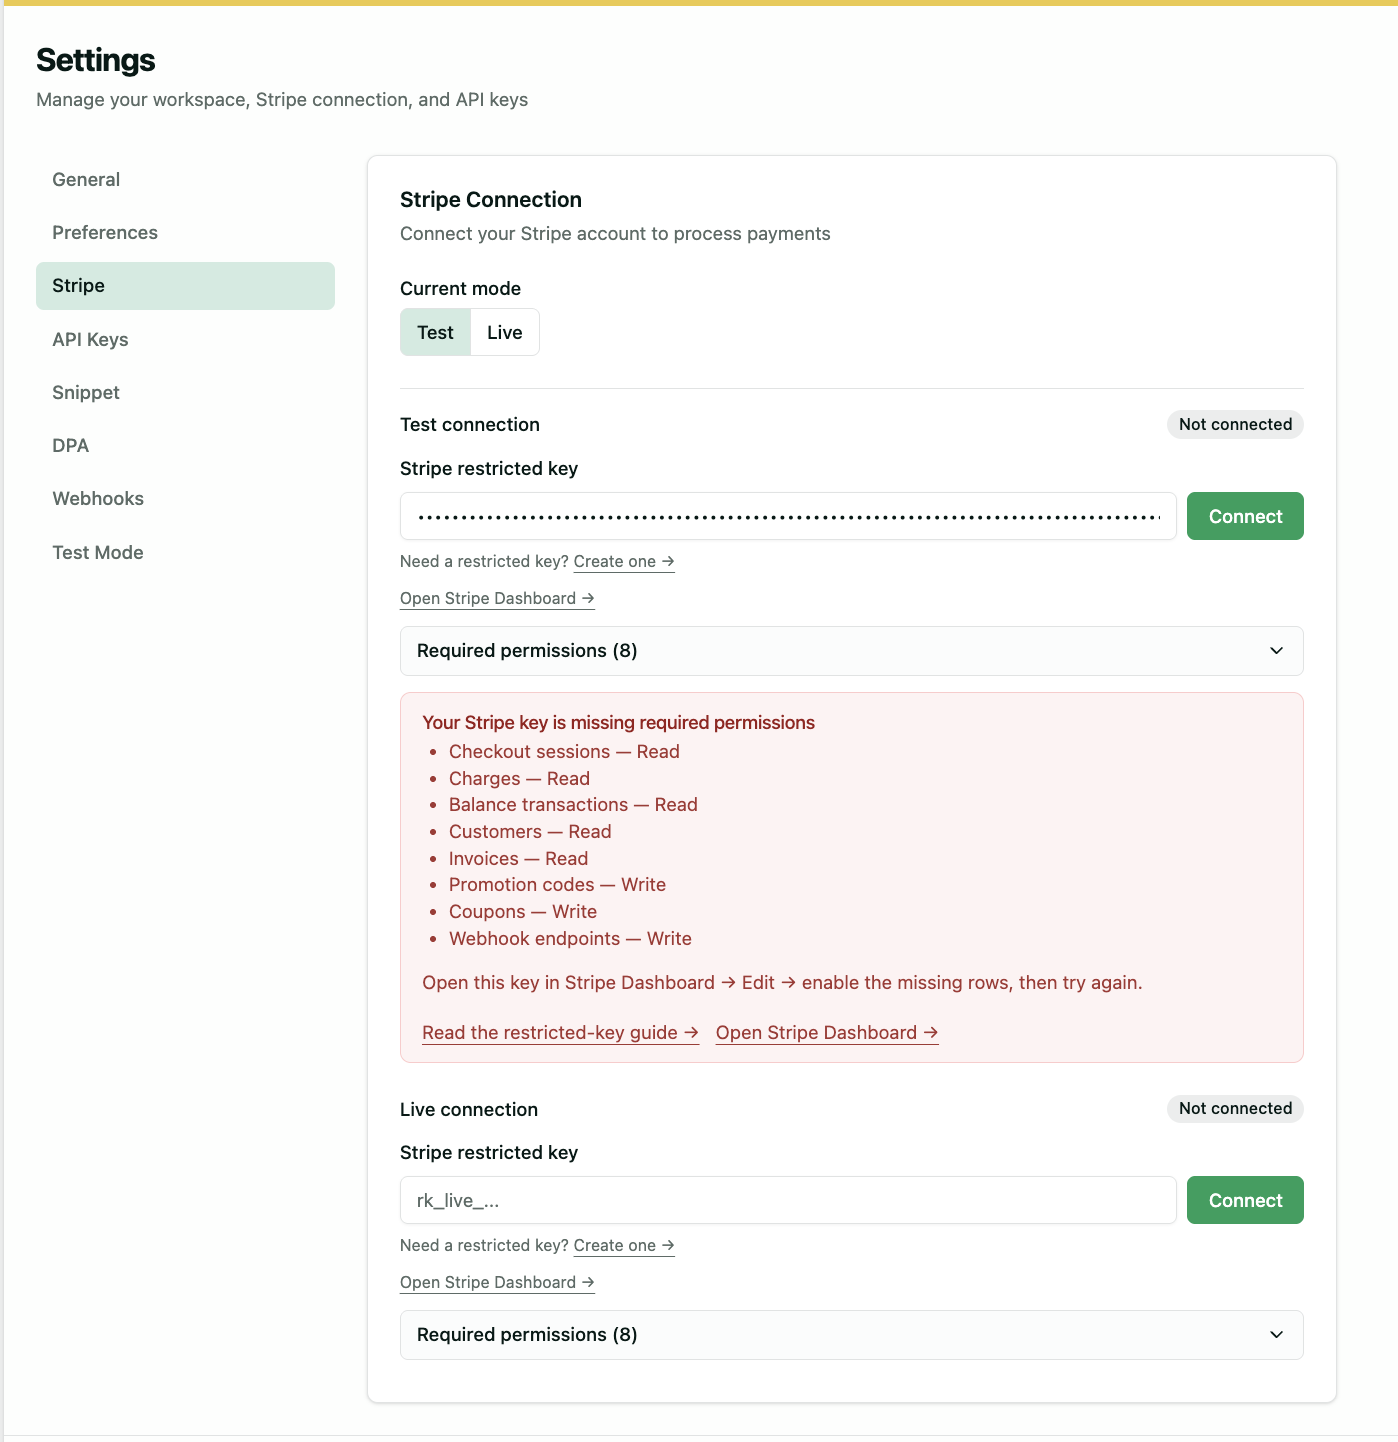
STRIPE_PERMISSIONS_MISSING
If Connect returns STRIPE_PERMISSIONS_MISSING, one or more of the eight permissions are missing from the restricted key. The Selgeo dashboard lists exactly which ones in plain language. Open the key in your Stripe Dashboard (Developers → API keys → the key's ⋯ menu → Edit), enable the missing rows, save, and click Connect again in Selgeo.
How does Connect verify my permissions?
Selgeo validates your key against all 8 permissions. Most probes send a small write request against a non-existent Stripe resource and read the permission error Stripe returns. The Coupons probe is the exception: it creates a tiny test coupon and deletes it within the same Connect call, so for a few milliseconds you may see a selgeo_probe_… coupon appear in your Stripe Dashboard. Normally no coupon is left behind; if a network error interrupts cleanup, Selgeo retries the delete once inside the same Connect call, and if both attempts fail the orphan coupon ID is recorded in Selgeo's logs so an operator can remove it manually. Connect may still report success in that case — the coupon probe verified the permission before cleanup started.
I see a leftover selgeo_probe_… resource in my Stripe Dashboard
This is rare. It means a network error interrupted Connect between creating and deleting a probe coupon. It is harmless — coupons have no side effects until they are attached to a promotion code — and you can delete it manually from the Stripe Dashboard. Contact support if it persists.
The key worked yesterday and stopped working today
Stripe restricted keys are revocable. Check the API keys page in your Stripe Dashboard — if the key is revoked or deleted, create a new one with the same eight permissions and reconnect.